
配置指导:使用Nginx部署YUM源服务器
什么是YUM?
YUM是Yellow dog Updater, Modified的简写,它是由杜克大学团队修改Yellow Dog Linux的Yellow Dog Updater开发而成。
YUM源本质上是一个包含软件包的仓库, 其中包括了软件包的元数据信息,如软件包的版本、依赖关系等等。 管理员可以通过配置服务器上的YUM源来轻松管理服务器上的软件包,并且从中选择需要安装的软件包。本篇文章将提供一个使用Nginx配置自定义YUM源的操作实例。
虽然 YUM 最初是为 Linux 创建的,但它已被移植到许多其他操作系统上。
使用Nginx部署YUM源服务器流程
1 YUM源服务器使用场景
- 服务器处于无网环境
- 缓解公司网络带宽压力
- 加快服务器软件安装部署
2 YUM源服务器必备条件
- YUM源服务器能够自动定期的更新YUM源
- 使用CentOS官方标准源保持更新
- Linux客户端可以直接使用YUM源
3 YUM源服务器配置
| 主机 | 系统 | IP地址 | 软件 |
|---|---|---|---|
| yum repo | Centos7.4 | 192.168.4.188 | Nginx+createrepo |
服务器具体配置要求如下:
- 至少2G内存
- 至少2核CPU
- 至少100G硬盘
4 环境准备
4.1 关闭SELinux
SELinux不关闭的情况下无法实现,会限制客户机和YUM源服务器的通信。
[root@yum~]# setenforce 0
[root@yum ~]# sed -i 's/SELINUX=enforcing/SELINUX=disabled/g' /etc/sysconfig/selinux
4.2 关闭防火墙
防止安装时出现各个组件的端口不能访问的问题。
[root@yum ~]# systemctl stop firewalld && systemctl disable firewalld 5 部署YUM源服务器
部署YUM源的必要服务,并且修改相关服务的配置文件。
5.1 部署Nginx服务
我们使用Nginx配置YUM源服务器。
[root@yum ~]# yum -y install nginx
[root@yum ~]# vi /etc/nginx/nginx.conf
user nginx;
worker_processes auto;
error_log /var/log/nginx/error.log;
pid /run/nginx.pid;
include /usr/share/nginx/modules/*.conf;
events {
    worker_connections 1024;
}
http {
    log_format  main  '$remote_addr - $remote_user [$time_local] "$request" '
                      '$status $body_bytes_sent "$http_referer" '
                      '"$http_user_agent" "$http_x_forwarded_for"';
    access_log  /var/log/nginx/access.log  main;
    sendfile            on;
    tcp_nopush          on;
    tcp_nodelay         on;
    keepalive_timeout   65;
    types_hash_max_size 2048;
    include             /etc/nginx/mime.types;
    default_type        application/octet-stream;
    # Load modular configuration files from the /etc/nginx/conf.d directory.
    # See http://nginx.org/en/docs/ngx_core_module.html#include
    # for more information.
    include /etc/nginx/conf.d/*.conf;
    server {
        listen       80 default_server;
        listen       [::]:80 default_server;
        server_name  _;
        root         /usr/share/nginx/html;
        # Load configuration files for the default server block.
        include /etc/nginx/default.d/*.conf;
        location / {
        }
	    autoindex on;
	autoindex_exact_size on;
 	    autoindex_localtime on;
        error_page 404 /404.html;
        location = /404.html {
        }
        error_page 500 502 503 504 /50x.html;
        location = /50x.html {
        }
    }
}
[root@yum ~]# systemctl start nginx
[root@yum ~]# systemctl enable nginx
5.2 在Nginx建立目录
创建yum源目录。
[root@yum ~]# cd /usr/share/nginx/html
[root@yum html]# mkdir -p centos/asterfusion/7/7.4/x86_64
[root@yum html]# tree
├── html
│   ├── 404.html
│   ├── 50x.html
│   ├── centos
│   │   └── asterfusion
│   │       └── 7
│   │           ├── 7.4
│   │               ├── x86
│   │               └── x86_64
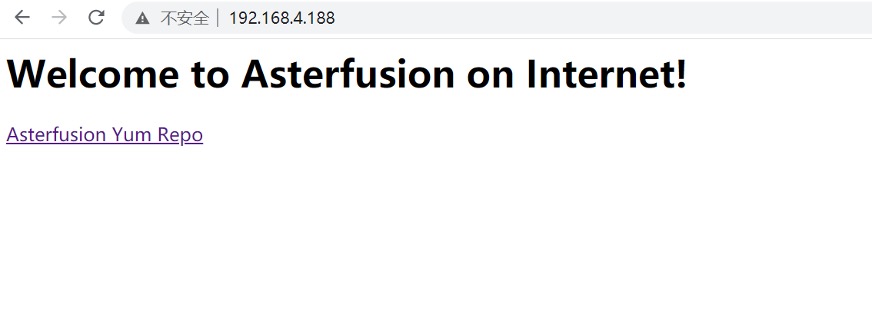
5.3 修改Nginx HTML
自定义yum源页面。本篇使用的是星融元Asterfusion自定义YUM源。
[root@yum ~]# cat /usr/share/nginx/html/index.html
        <h1>Welcome to <strong>Asterfusion</strong> on Internet!</h1>
    <div class="content">
    <a href="http://192.168.4.188/centos/asterfusion">Asterfusion Yum Repo</a><br/>
    <br/>
   </div
[root@yum ~]# systemctl restart nginx
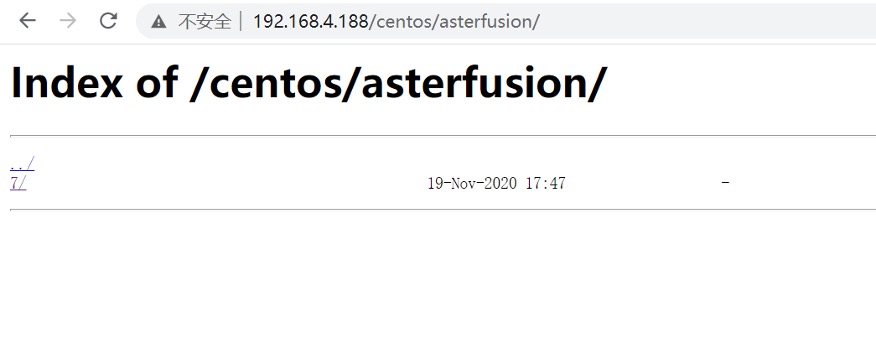
5.4 验证yum源
使用服务器IP访问浏览器。
5.5 同步官方yum源
同步官方CentOS7源到本地,如果出现同步后没有对应的文件和目录的情况,检查本地的repo文件是否有错误。
[root@yum x86_64]# pwd
/usr/share/nginx/html/centos/asterfusion/7/7.4/x86_64
[root@yum x86_64]# yum -y install yum-utils createrepo
[root@yum x86_64]# reposync --repoid base  -p ./
[root@yum x86_64]# reposync --repoid epel  -p ./
[root@yum x86_64]# reposync --repoid extras  -p ./
[root@yum x86_64]# reposync --repoid updates  -p ./
[root@yum x86_64]# createrepo -p /usr/share/nginx/html/centos/asterfusion/7/7.4/x86_64/base
[root@yum x86_64]# createrepo -p /usr/share/nginx/html/centos/asterfusion/7/7.4/x86_64/epel
[root@yum x86_64]# createrepo -p /usr/share/nginx/html/centos/asterfusion/7/7.4/x86_64/extras
[root@yum x86_64]# createrepo -p \
/usr/share/nginx/html/centos/asterfusion/7/7.4/x86_64/updates
5.6 创建yum repo
部署优先级控制工具,可以控制客户端优先使用优先级较高的yum源,创建yum源repo文件。\
[root@yum x86_64]# yum install yum-plugin-priorities -y
[root@yum x86_64]# cd /etc/yum.repos.d/
[root@yum yum.repos.d]# mkdir bak
[root@yum yum.repos.d]# mv ./* bak
[root@yum yum.repos.d]# vi Asterfusion.repo
[Asterfusion-base]
name=asterfusion-base
baseurl=http://192.168.4.188/centos/asterfusion/7/7.4/x86_64/base
gpgcheck=0
enable=1
priority=1
[Asterfusion-epel]
name=asterfusion-epel
baseurl=http://192.168.4.188/centos/asterfusion/7/7.4/x86_64/epel
gpgcheck=0
enable=1
priority=1
[Asterfusion-extras]
name=asterfusion-extras
baseurl=http://192.168.4.188/centos/asterfusion/7/7.4/x86_64/extras
gpgcheck=0
enable=1
priority=1
[Asterfusion-updates]
name=asterfusion-updates
baseurl=http://192.168.4.188/centos/asterfusion/7/7.4/x86_64/updates
gpgcheck=0
enable=1
priority=1
部署优先级控制工具,可以控制客户端优先使用优先级较高的yum源,创建yum源repo文件。
[root@yum x86_64]# yum install yum-plugin-priorities -y
[root@yum x86_64]# cd /etc/yum.repos.d/
[root@yum yum.repos.d]# mkdir bak
[root@yum yum.repos.d]# mv ./* bak
[root@yum yum.repos.d]# vi Asterfusion.repo
[Asterfusion-base]
name=asterfusion-base
baseurl=http://192.168.4.188/centos/asterfusion/7/7.4/x86_64/base
gpgcheck=0
enable=1
priority=1
[Asterfusion-epel]
name=asterfusion-epel
baseurl=http://192.168.4.188/centos/asterfusion/7/7.4/x86_64/epel
gpgcheck=0
enable=1
priority=1
[Asterfusion-extras]
name=asterfusion-extras
baseurl=http://192.168.4.188/centos/asterfusion/7/7.4/x86_64/extras
gpgcheck=0
enable=1
priority=1
[Asterfusion-updates]
name=asterfusion-updates
baseurl=http://192.168.4.188/centos/asterfusion/7/7.4/x86_64/updates
gpgcheck=0
enable=1
priority=1
5.7 重新建立缓存
清除本地缓存和重新建立缓存,检查yum源中的软件包。
[root@yum ~]# yum clean all
[root@yum ~]# yum makecache
[root@yum ~]# yum repolist

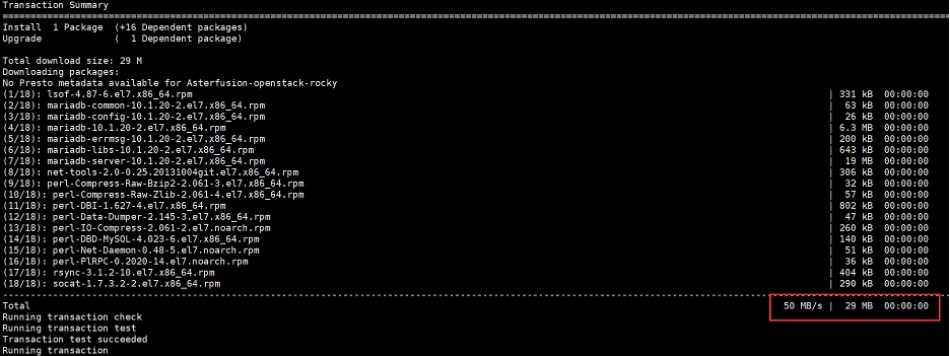
5.8 测试安装速度
使用本地源安装mariadb数据库,安装速度大大加快。
[root@yum ~]# yum install -y mariadb-server
5.9 配置yum源自动更新
在计划任务中加入yum源更新脚本,每周六18:30自动更新CentOS7.4 yum源。
[root@yum home]# vi updateyumrepo.sh
#!/bin/bash
reposync -n --repoid=extras --repoid=updates --repoid=base --repoid=epel -p \
/usr/share/nginx/html/centos/asterfusion/7/7.4/x86_64/
[root@yum home]# crontab -e
30 18 * * 6 /bin/bash /home/updateyurepo.sh
[root@yum home]# crontab -l
30 18 * * 6 /bin/bash /home/updateyurepo.sh
星融元(Asterfusion)是领先的开放网络解决方案提供商,产品包括网络操作系统、数据中心交换机、智算交换机、园区交换机、NPB、DPU网卡和P4可编程硬件平台等。为行业企业、数据中心和云运营商提供基于通用解耦硬件和SONiC软件框架的全场景交钥匙网络解决方案,帮助用户构建AI时代中立、透明,易于运维、高性价比的基础网络自由选择。 www.asterfusion.com
